Steps for configuring Redshift with Intentwise Analytics Cloud
-
Create a new database in Redshift. You can pick any name for the database.
-
If your database is behind a firewall, please whitelist the following IP addresses. This is necessary for the Intentwise data pipeline to access your database.
-
52.25.90.16
-
34.216.244.114/32
-
52.68.49.96/32
-
52.26.72.39/32
-
52.48.81.207/32
-
54.86.110.101/32
-
52.64.101.124/32
-
52.74.180.132/32
-
18.196.243.206/32
-
35.160.115.182/32
-
35.162.125.75/32
-
-
Create any new user with the <password> in your Redshift database.
-
Create the following new schemas within the database:
-
amazon_source_data
-
intentwise_ecommerce_graph
-
amazon_marketing_cloud (recommended if you are currently using or intend to use Amazon Marketing Cloud)
-
criteo_source_data (recommended if you are currently using or intend to use Criteo)
-
instacart_source_data (recommended if you are currently using or intend to use Instacart)
-
walmart_source_data (recommended if you are currently using or intend to use Walmart)
-
-
Grant read/write permissions for the user created in step #3 by using these queries:
-
GRANT ALL ON schema amazon_source_data TO intentwise_user;
-
GRANT ALL ON schema intentwise_ecommerce_graph TO intentwise_user
-
-
Now, go to the Intentwise platform and navigate to My Connections under Intentwise Analytics Cloud. Click on "+ Add Destination", choose Redshift as the destination and click Next.
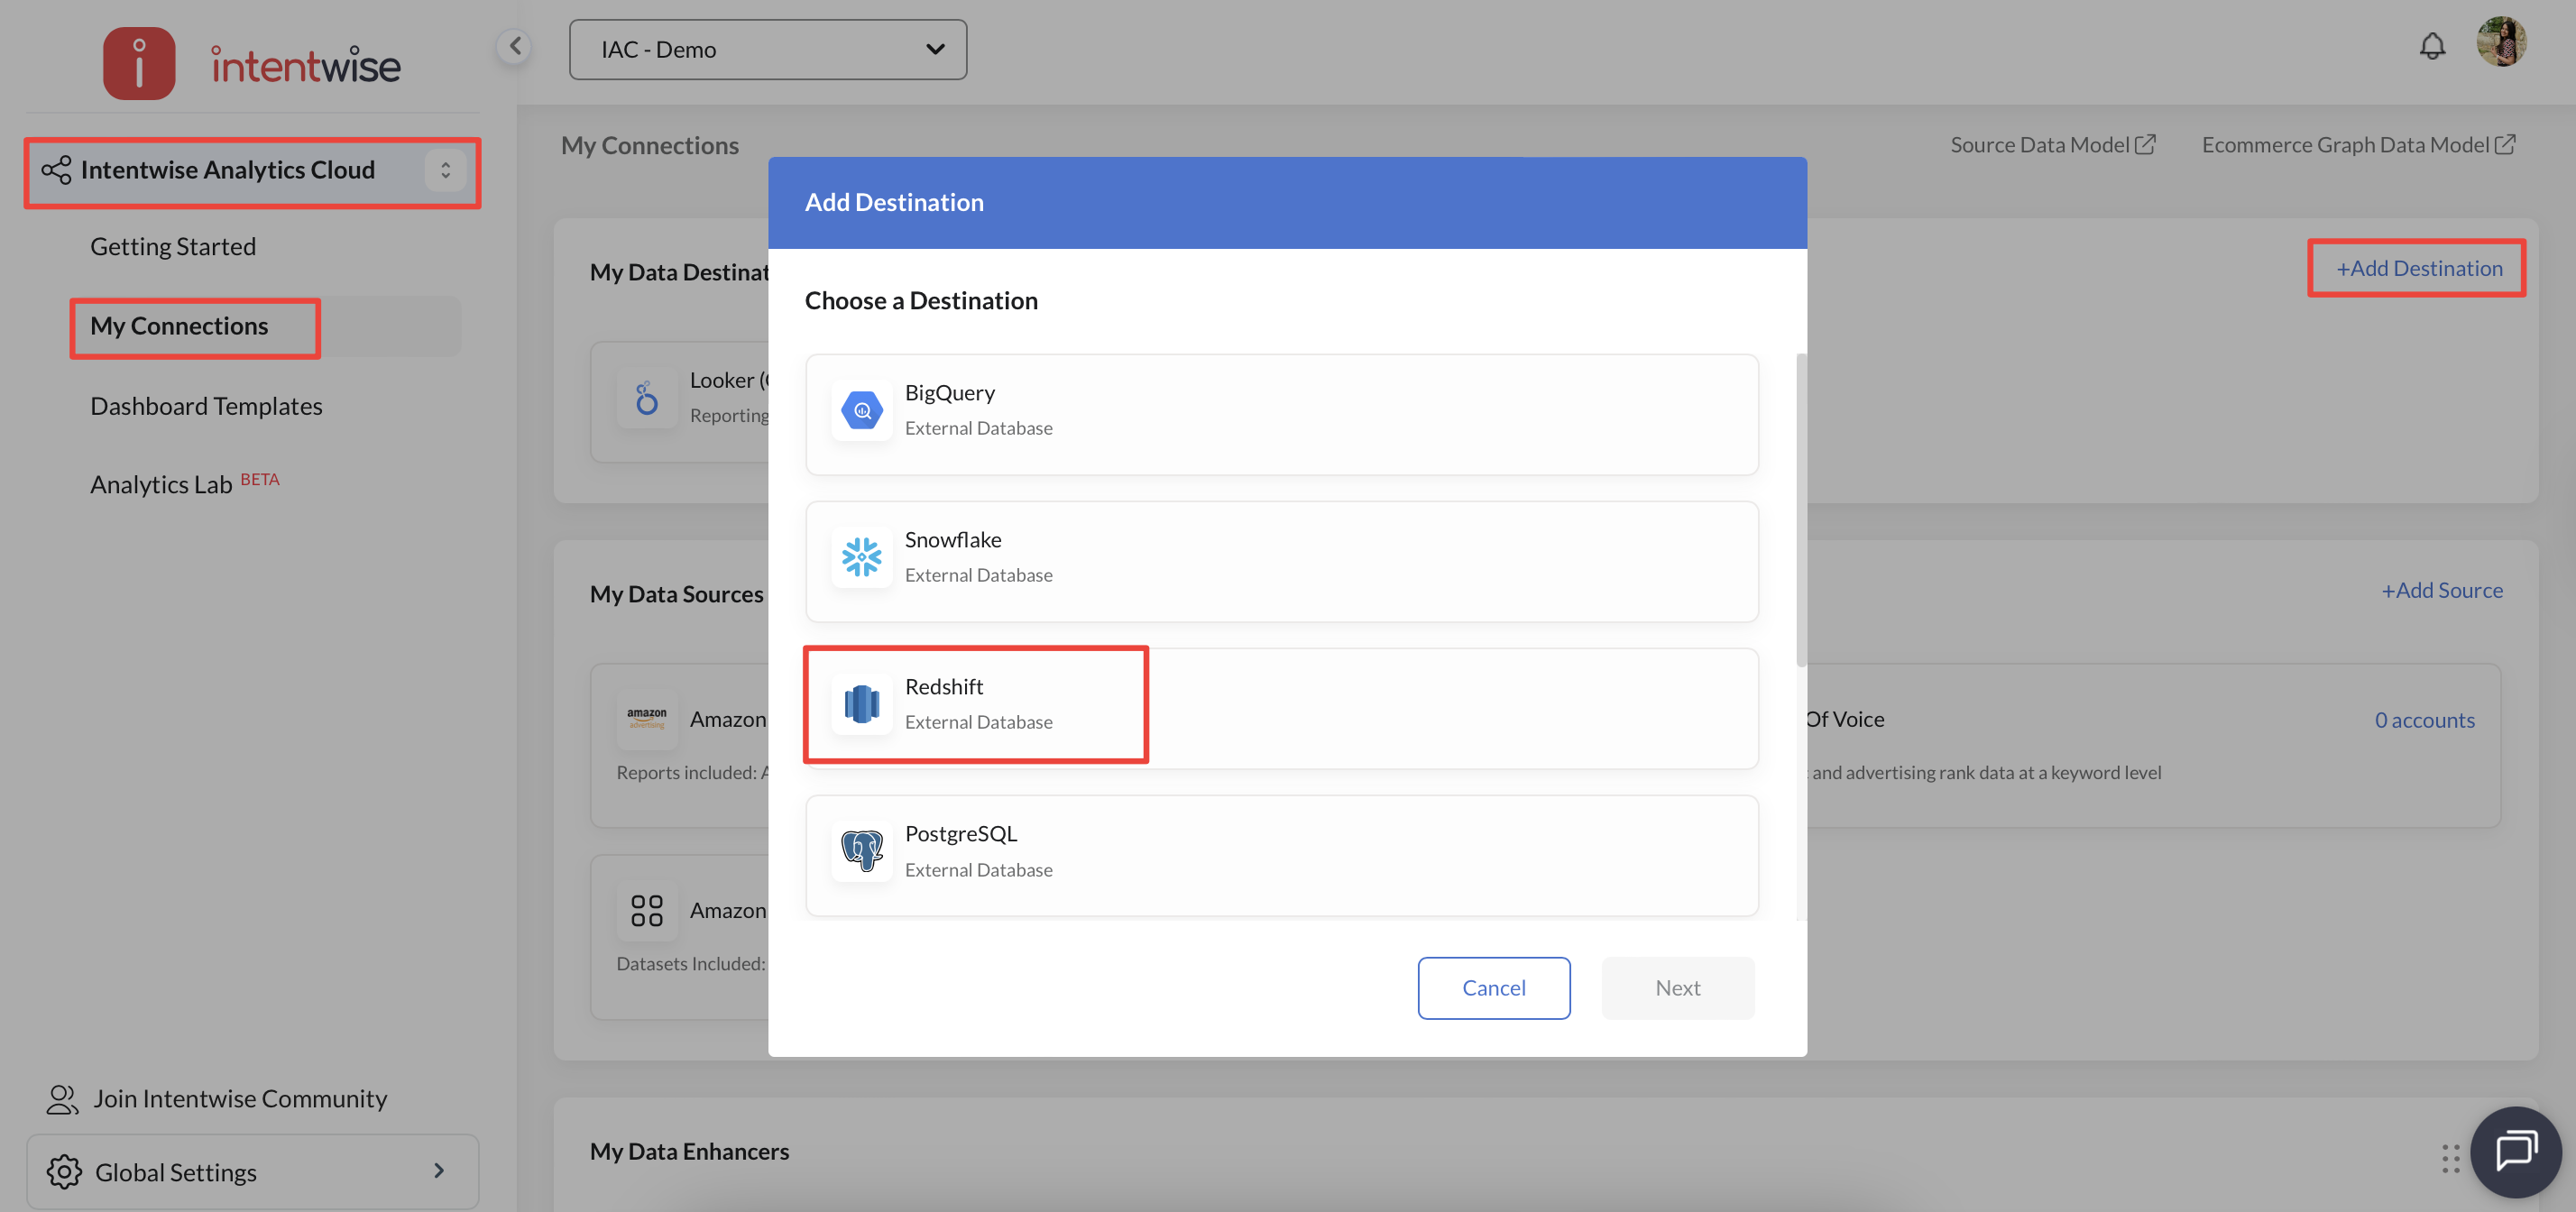
-
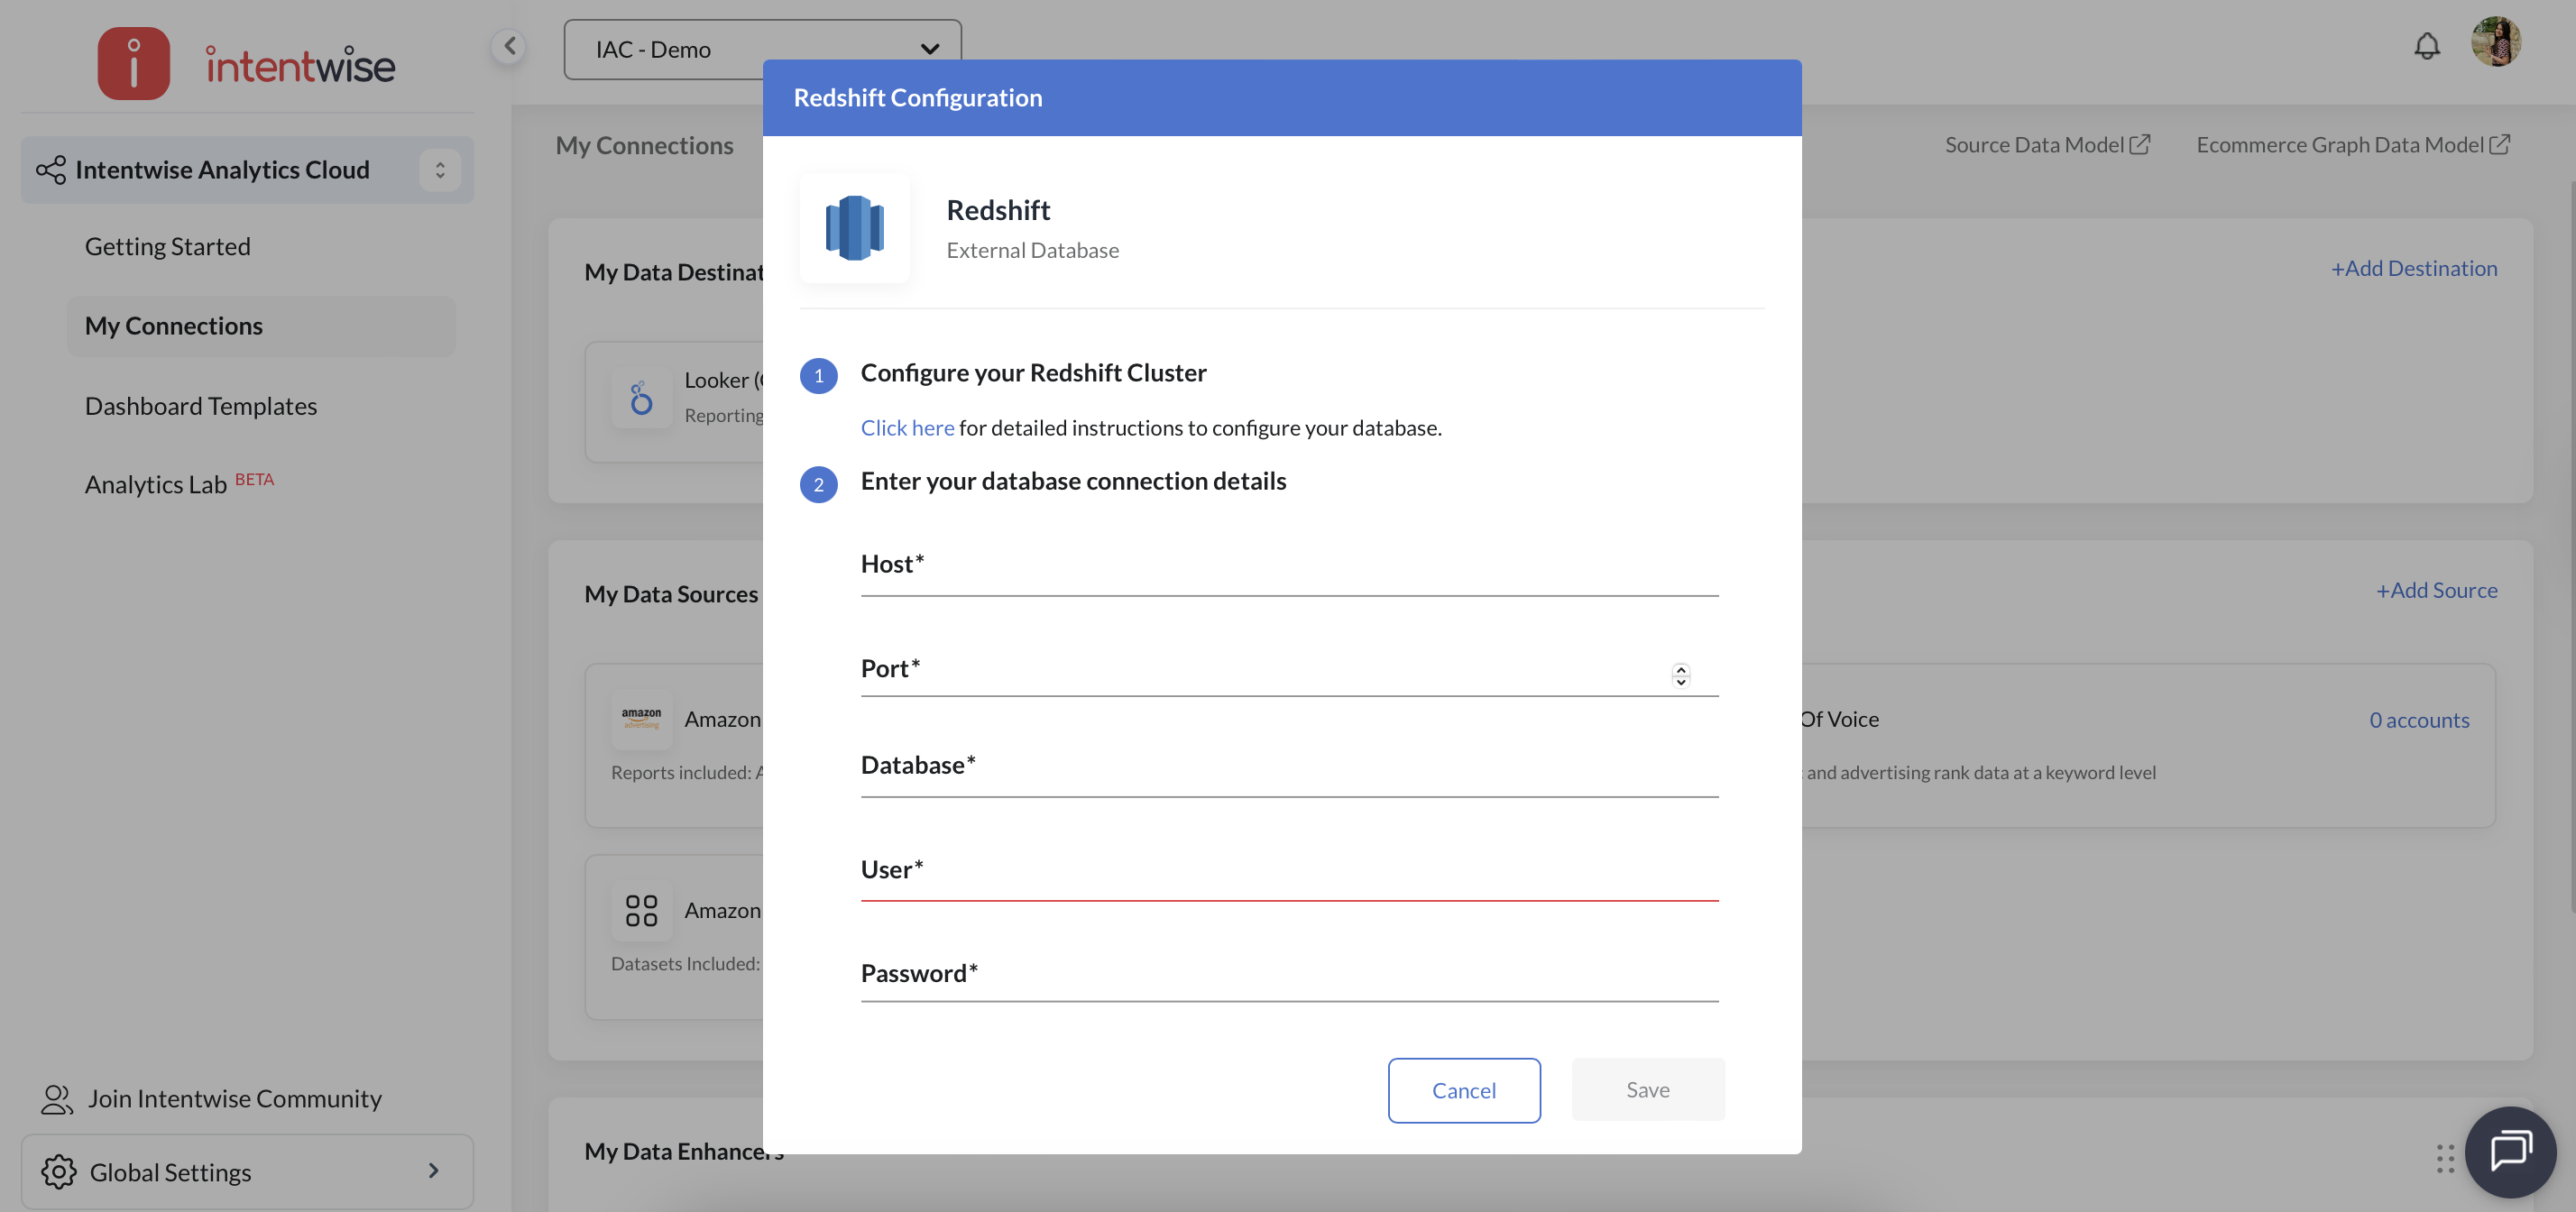
And enter the Host, Port, Database, User, and Password details and Save.
-
On completion, you will see a success message.
-
For any further questions on the pipeline setup, please contact us on chat or at help@intentwise.com.